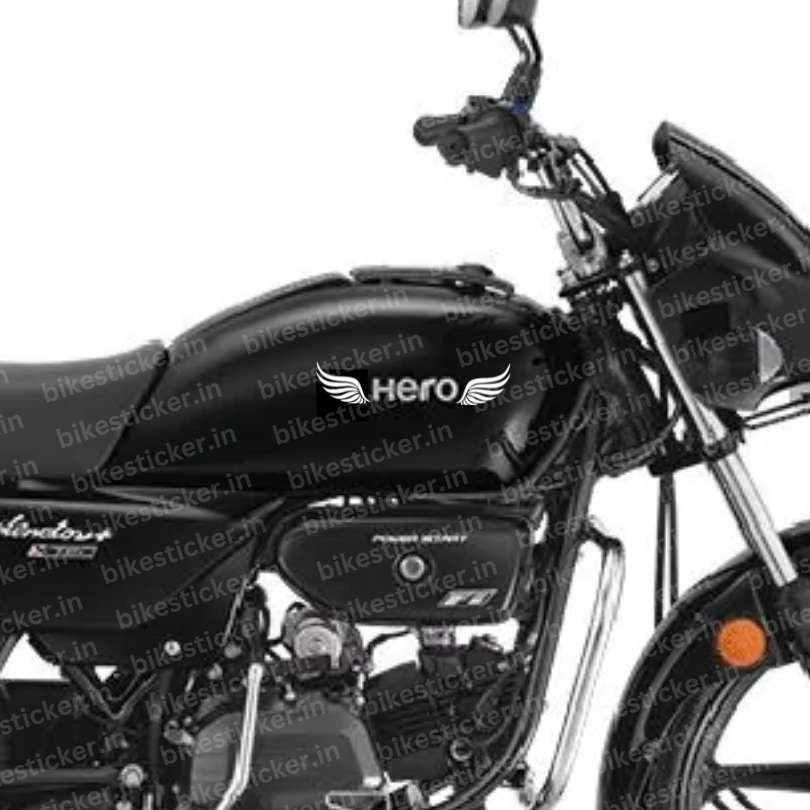
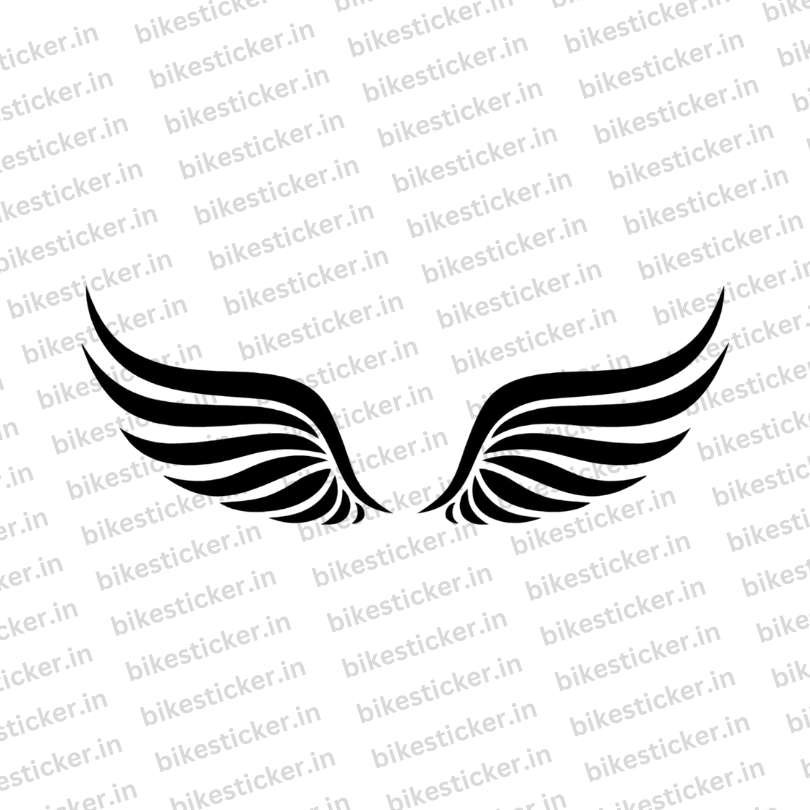
Splendor modified Tank Wings Sticker – Tank Sticker For Splendor (4 pcs)
₹120.00 – ₹150.00
Our Splendor wings sticker for fuel tank is available in high-quality vinyl sheets. These materials are known for their exceptional durability, ensuring that the sticker remains intact under various conditions. Whether you are cruising through rain, dust, or under the scorching sun, our sticker’s water-proof, dust-proof, and sunlight-proof properties will keep it looking new.
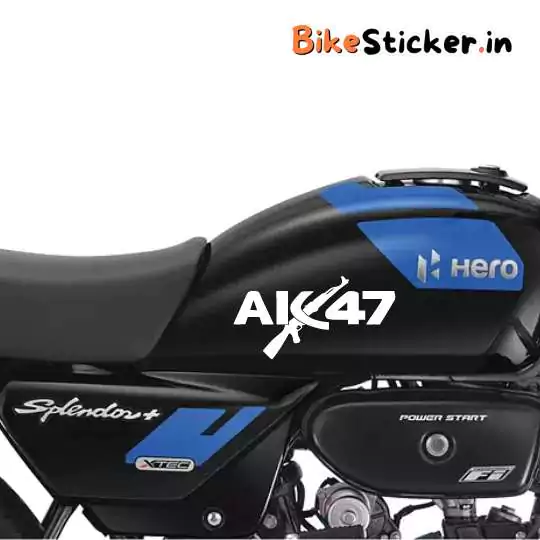
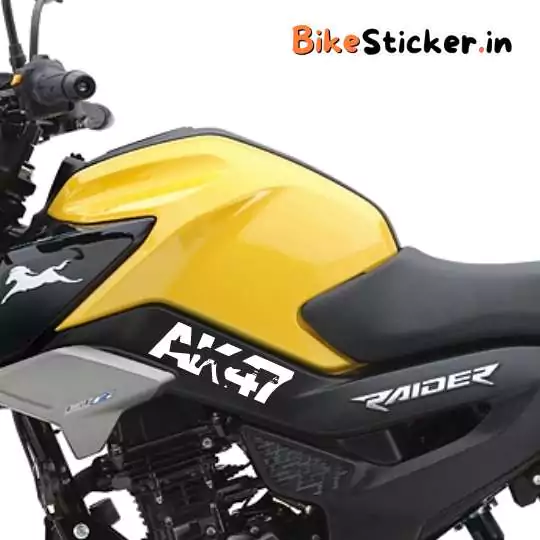
⚠️ The image displayed is a demo Image and may slightly differ in size from the actual product you receive. This is because we strive to offer the best possible fit on all of these company motercycle indian models
Introduction
Show your love for the Splendor wings sticker for fuel tank with this unique hero wing tank sticker set (4 pcs)! This high-quality vinyl decal is perfect for any Hero motorcycle and bike, including Hero Splendor, HF Delux models. It’s easy to apply and will add a touch of personality to your ride. Order yours today and get free shipping across India!
Quality and Durability
Our sticker is available in high-quality vinyl and radium sheets. These materials are known for their exceptional durability, ensuring that the sticker remains intact under various conditions. Whether you are cruising through rain, dust, or under the scorching sun, our sticker’s water-proof, dust-proof, and sunlight-proof properties will keep it looking new.
Introduction to Radium and Vinyl Stickers
Stickers have long been a popular way to personalize and enhance the appearance of bikes. Two common types of stickers used for this purpose are radium and vinyl stickers. Both offer unique benefits and serve different aesthetic and functional needs. In this guide, we will explore the differences between radium and vinyl stickers and provide a step-by-step method for applying them to your bike.
What Are Radium Stickers?
Radium stickers, also known as reflective or glow-in-the-dark stickers, are designed to reflect light and glow in low-light conditions. They are made from a special material that enhances visibility, making them an excellent choice for safety purposes. These stickers are ideal for night riders who want to increase their visibility on the road.
What Are Vinyl Stickers?
Vinyl stickers are made from a durable and flexible plastic material that can withstand various weather conditions. They are known for their vibrant colors and detailed graphics, making them perfect for decorative purposes. Vinyl stickers are commonly used for branding, advertising, and aesthetic customization of bikes.
How to Apply Stickers on Your Bike
Applying stickers to your bike requires careful preparation and attention to detail to ensure a smooth and long-lasting finish. Here are the steps:
- Clean the Surface: Start by thoroughly cleaning the area where you intend to apply the sticker. Use a mild detergent and water to remove any dirt, grease, or debris. Dry the surface completely with a clean cloth.
- Position the Sticker: Place the sticker on the desired location without removing the backing paper. This allows you to adjust the position and ensure it is aligned correctly.
- Apply the Sticker: Once you are satisfied with the position, slowly peel off the backing paper while pressing the sticker onto the surface. Use a squeegee or a credit card to smooth out any air bubbles and ensure the sticker adheres firmly.
- Final Touches: After applying the sticker, go over the edges with a cloth to make sure they are securely attached. Allow the sticker to set for a few hours before exposing it to harsh weather or riding conditions.
| Weight | 20 g |
|---|---|
| Dimensions | 8.136 × 3 in |
| Color | Gold, Chrome, White, Black |
 Splendor modified Tank Wings Sticker - Tank Sticker For Splendor (4 pcs)








Reviews
There are no reviews yet